Alright people, so we’re almost getting ready to begin developing a basic iOS application that will aim to consume the APIs we’ve been working on. Before doing so, I wanted to add a little more functionality to the (Spring Boot) backend that we have developed so far. This part of the tutorial I’ll go through pretty quickly as we already have a basic idea of how to develop an API. If you haven’t followed any of the other tutorials, not to worry, I’ve put the updated source code on github which can be found here.
If you’ve completely forgotten some of the steps we’ve taken to setting up our first API, here is the general flow that I like to follow
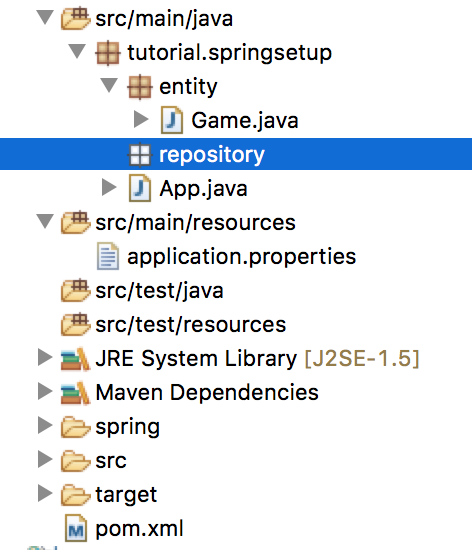
- If I need to create a new table in the database, I’ll start by creating my Java object that will be mapped into my relational database, ex: our Game.java class.
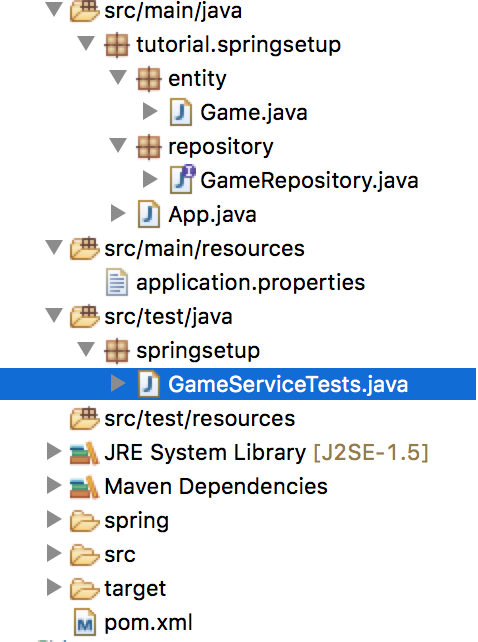
- If necessary I’ll create (or add to) my repository which represents the Java object that is mapped to the database, ex: our GameRepository.java interface. This is where I would start writing my @Query methods.
- I will create (or add to) my existing @Service class that is used to add additional logic to the repository interface, ex: our GameService.java class.
- If I’m feeling super eager, I’ll write a unit test to check that my service methods are performing as I expect.
- And finally, I will create or add to an existing @RestController class so that my new service methods are accessible through an API, ex: our GameController.java class.
With that in mind, these are the steps that I will follow through in this tutorial. If you’re just here for the source code, I’ll add it to the end of this post.
Step 1: Creating A new Table
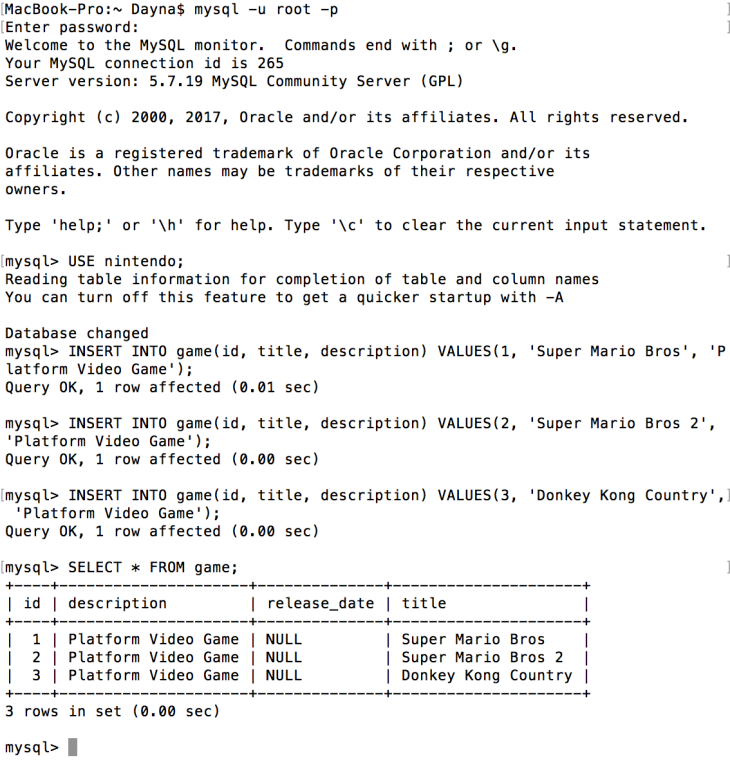
I’m going to create a new table that will allow users to create comments on a particular game if they wish. To do so, I’ve set up the following Java object inside of our entity package…
package tutorial.springsetup.entity;
import java.util.Date;
import javax.persistence.Column;
import javax.persistence.Entity;
import javax.persistence.GeneratedValue;
import javax.persistence.GenerationType;
import javax.persistence.Id;
import javax.persistence.ManyToOne;
import javax.persistence.Table;

@Table(name = "comment")
@Entity
public class Comment {

    @Id
    @GeneratedValue(strategy = GenerationType.AUTO)
    private Long id;

    @ManyToOne // One game will have many comments
    private Game game;

    // Authors name
    @Column(name = "author")
    private String author;

    // Comment text
    @Column(name = "text")
    private String text;

    // Date the comment was created
    @Column(name = "created_date", nullable = false)
    private Date createdDate;

    public Comment(){
        createdDate = new Date(); // set the date to today's date when create
    }

    public Long getId() {
        return id;
    }

    public void setId(Long id) {
        this.id = id;
    }

    public Game getGame() {
        return game;
    }

    public void setGame(Game game) {
        this.game = game;
    }

    public String getAuthor() {
        return author;
    }

    public void setAuthor(String author) {
        this.author = author;
    }

    public String getText() {
        return text;
    }

    public void setText(String text) {
        this.text = text;
    }

    public Date getCreatedDate() {
        return createdDate;
    }

    public void setCreatedDate(Date createdDate) {
        this.createdDate = createdDate;
    }
}
Great, so that is what our basic comment table will look like. Once you run your application this table will be created and you’ll be able to view it in your local MySQL database.
Step 2: Creating the CommentRepository interface
Now that we have our new table, the next step is to create our repository interface so that we can write some basic queries. The first query I would like to add will allow for users to be able to find all comments created on a particular game. I’m going to create a brand new repository called CommentRepository inside of our repository package. It’s going to look like this…
package tutorial.springsetup.repository;

import java.util.List;
import org.springframework.data.jpa.repository.JpaRepository;
import org.springframework.data.jpa.repository.Query;
import tutorial.springsetup.entity.Comment;

public interface CommentRepository extends JpaRepository<Comment, Long>{

    @Query("SELECT c FROM Comment c WHERE c.game.id = ?1")
    public List<Comment> findCommentsByGameId(Long gameId);

}
As you can see, I’ve extended the JpaRepository interface so that we can take advantage of some of the provided operations. This is similar to what we have done in our GameRepository interface.
Step 3: Creating our GameService class
Now that we have our CommentRepository setup, we can begin setting up our CommentService. Not only do I want to provide some additional logic to the findCommentsByGameId(Long gameId) we had just created, but I also want to add in a new method that will allow for users to CREATE new comments (this is where we’ll take advantage of JpaRepository). I’ve made a new class within our service package and named it CommentService which looks as follows…
package tutorial.springsetup.service;

import java.util.List;
import org.springframework.beans.factory.annotation.Autowired;
import org.springframework.stereotype.Service;
import tutorial.springsetup.entity.Comment;
import tutorial.springsetup.repository.CommentRepository;

@Service
public class CommentService {

    @Autowired
    private CommentRepository commentRepo;

    @Autowired
    private GameRepository gameRepo;

    public List<Comment> findCommentsByGameId(Long gameId) throws Exception{
        if(gameId == null){
            throw new Exception("Invalid game id.");
        }

        List<Comment> results = commentRepo.findCommentsByGameId(gameId);
        return results;
    }

    public Comment createGameComment(Comment comment, Long gameId) throws Exception{
        if(comment == null || gameId == null){
            throw new Exception("Invalid parameters.");
        }

        Game game = gameRepo.findOne(gameId);
        if(game == null){
            throw new Exception("Cannot find game with id=" + gameId);
        }

        comment.setGame(game); // Find game by provided gameId and set it

        Comment created = commentRepo.save(comment); // "save" is provided by the extended JpaRepository interface
        return created;
    }
}
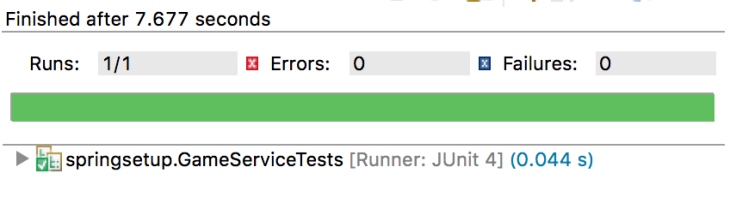
Step 4: Writing Unit Tests
To avoid boring you to death, I’ll skip over going through the unit testing portion. If you’re really interested they’ll be available to look at in the source code inside of the CommentServiceTests.java class.
Step 5: Creating The CommentController class
Now that we have added some additional functionality to our CommentService class, we can finally start creating a couple of new API’s. We will want to develop a GET request that will allow for client side users to read the comments that were made on a particular game, and we also want to develop a POST request that will allow for users to create new comments. I’ve created a new class within our controller package and named it CommentController which looks as follows…
package tutorial.springsetup.controller;

import java.util.List;
import org.springframework.beans.factory.annotation.Autowired;
import org.springframework.web.bind.annotation.PathVariable;
import org.springframework.web.bind.annotation.RequestBody;
import org.springframework.web.bind.annotation.RequestMapping;
import org.springframework.web.bind.annotation.RequestMethod;
import org.springframework.web.bind.annotation.RestController;
import tutorial.springsetup.entity.Comment;
import tutorial.springsetup.service.CommentService;

@RestController
public class CommentController {

    @Autowired
    private CommentService commentService;

    @RequestMapping(value = "/api/games/{gameId}/comments", method = RequestMethod.GET)
    public List<Comment> findCommentsByGameId(@PathVariable("gameId") Long gameId) throws Exception{
        List<Comment> gameComments = commentService.findCommentsByGameId(gameId);
        return gameComments;
    }

    @RequestMapping(value = "/api/games/{gameId}/comments", method = RequestMethod.POST)
        public Comment createNewGameComment(@PathVariable("gameId") Long gameId, @RequestBody final Comment comment) throws Exception{
        Comment created = commentService.createGameComment(comment, gameId);
        return created;
    }
}
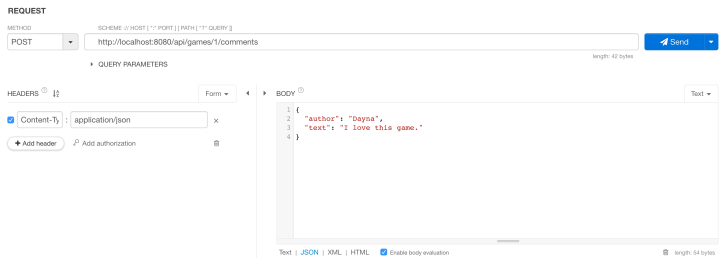
Great, so now that we’ve added in our two new APIs we can run our application and test them. Once again, I’ll be using Restlet Client and after calling each API I am able to retrieve the following responses…
createNewGameComment called with http://localhost:8080/api/games/1/comments (we’ll be creating a comment on a game with id = 1)

findCommentsByGameId called with http://localhost:8080/api/games/1/comments

Super! We’ve sped through adding in some brand new functionality to our app. If you’re feeling a bit lost, check out some of the previous tutorials or create a comment below. I’ve also added the updated source code from this tutorial to github and it can be found here.
Have any questions, comments, suggestions? Having issues getting your project to this stage? Leave a comment and I’ll be happy to get back to you.