This series is going to show you how to write a basic backend using Swift. This is for those who feel more comfortable using Swift throughout their application rather than switching between languages (ex: Java/Spring Boot backend which can also be started out here). If this is something you’re interested in, I’ll be breaking this down into small parts so it doesn’t become too frightening!
Last time we focused on setting up our Swift web-service project which can be found here. This time we’re going to be doing some configuration within this project to set up communication with MySQL.
Connecting to MySQL
The first thing we’re going to do is configure our project to connect with MySQL. Before we add in the MySQL Perfect dependency, we have to do a little bit of setting up first on our machine. Open up Terminal and type the following…
brew update
And once that has finished updating type
brew install mysql
Potential Errors (Follow these steps if you receive the following error)

To fix this, type
xcode-select --install
And then go ahead and attempt to perform the previous step by typing
brew install mysql
Now we can update our Package.swift file to include the Perfect MySQL dependency. After doing so, your file will look as follows…
| import PackageDescription | |
| let package = Package( | |
| name: "swift-server", | |
| dependencies: [ | |
| .Package(url: "https://github.com/PerfectlySoft/Perfect-HTTPServer.git", majorVersion: 2), | |
| .Package(url:"https://github.com/PerfectlySoft/Perfect-MySQL.git", majorVersion: 3) | |
| ] | |
| ) |
Let’s update our project to include this dependency. Open up Terminal and type…
swift package update
And once that has finished updating, type in the following command
swift package generate-xcodeproj
Awesome. So we have the MySQL dependency added, now we can write some code to configure our project to communicate with our MySQL database that we set up in a previous tutorial here (you’ll need to do this first, unless you have a MySQL database already setup and running on your machine).
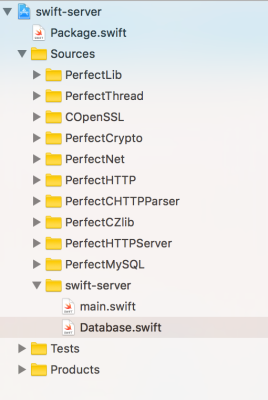
I’m going to create a new Swift file called Database.swift which is where we’ll put all of our database related functionality. To do this…
- Right click on our project directory, swift-server
- Select New File… and in the popup window select Swift File
- Give your file a name – I’ve called mine Database and then go ahead and click save.
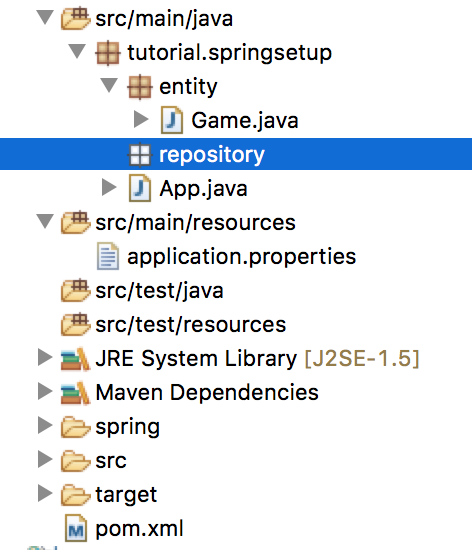
After creating this new Swift file, my project directory looks as follows…
Now, there are a few other things we’re going to do before we make the call to connect to our database. Perform the following…
- Right click on your new Database.swift file > Show File Inspector
On the right hand side of Xcode, you’ll notice a panel appear. Make sure in the Target Membership that you have the following selected…

We’re ready to start coding. I’m going to create a new function in the Database.swift that will connect to our database. It will look like this…
| public class DB { | |
| // You'll need to update these values based on how you've set up MySQL. | |
| let host = "127.0.0.1" | |
| let user = "root" | |
| let password = "admin" | |
| let database = "nintendo" | |
| func databaseConnect(host: String, user: String, password: String, db: String) -> MySQL { | |
| let mysql = MySQL() // Create an instance of MySQL to work with | |
| let connected = mysql.connect(host: host, user: user, password: password, db: db) | |
| guard connected else { | |
| // verify that we have connected successfully | |
| print(mysql.errorMessage()) | |
| return mysql | |
| } | |
| return mysql | |
| } | |
| } |
Keep in mind that you’ll have to change the values for user, password, and database depending on how you’ve set up MySQL on your computer.
As promised, I will break down these tutorials to keep them short and easy to follow. I will end this one right here as I know it might take a bit of time to get this setup – please leave me a comment below if you run into any errors while trying to get your project to this point.
If you’re interested in this series, next time I’ll be showing you how to query our MySQL database that we connected in this tutorial from our Swift web-server project!